The Treatment Plans feature in Patient Bridge allows your practice to share proposed treatment plans digitally with patients.
Patients can securely review, accept, or decline their treatment online — making the process quick, easy, and convenient.
Accessing Treatment Plans
Go to Patient Bridge > Patients > Treatment Plans.
Applying Filters
Use the filters to refine which treatment plans appear in your report.
Available filters:
Date Range – Choose the From and To dates to define the reporting period.
Clinician – Select a specific clinician from the drop-down menu.
Plan Type – Filter by NHS, Private, Denplan, etc., depending on what’s used in your practice.
Stage – Filter treatment plans by their current progress:
Approved by Patient
Sent to Patient
Opened by Patient
Cancelled
Patient Name/ID – Enter a patient’s name or ID to locate their treatment plan quickly.
Once your filters are set, click Search.
Tip: If you don’t see any results, try extending your date range or clearing restrictive filters.
Understanding the Report Columns
Each treatment plan record includes key information to help you manage and track activity.
| Column | Description |
|---|---|
| Name | The patient’s full name. |
| Patient Code | The patient’s unique identifier. |
| Clinician | The clinician who created the plan. |
| Treatment Plan Name | The name given to the treatment plan. |
| Plan Creation Date | The date the plan was created. |
| Plan Type | The type of plan (e.g. NHS, Private, Denplan). |
| Stage | The current status of the plan. |
| Action | Click to view, resend, or manage the plan depending on its status. |
Creating, Customising, and Sending Treatment Plans
Creating a Treatment Plan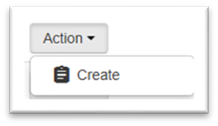
Once a treatment plan has been accepted in the Practice Management System (PMS), it will appear in Patient Bridge with the status Not Started.
Click the Actions drop-down and select Create.
Note: Only plans that have been accepted in Sensei Cloud will appear in this section.
Customising a Treatment Plan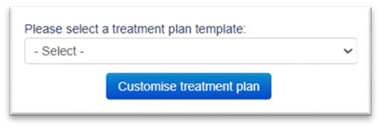
Select a treatment plan template from the drop-down list and click Customise Treatment Plan.
Review patient and plan details, including:
Patient name, clinician, creation date, and plan reference (e.g. “NHS Plan 5”).
The associated practice address.
Include or exclude pricing:
Tick Exclude Pricing if you do not want costs displayed on the patient’s version.
If pricing is included, you’ll see:
Individual line items from the PMS (e.g. “Exam/Report”).
Patient charge details such as:
Charge for NHS Treatment
Cost of Other Treatment
Add or remove treatment items: Use the checkboxes beside each line item to include or exclude treatments from the final plan.
Add notes: Use the free text field to include any notes or instructions for the patient.
Click Preview Treatment Plan to view how the final plan will appear before sending.
Tip: Use concise and patient-friendly language in the notes section to improve understanding and reduce follow-up queries.
Preview Options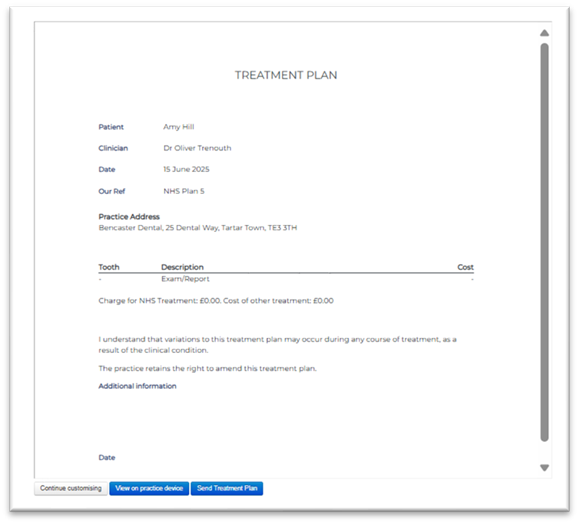
After previewing, you’ll have three options:
Continue Customising – Return to the editing screen.
View on Practice Device – Display the treatment plan on a tablet or screen for the patient to read and sign in practice.
Send Treatment Plan – Send the plan directly to the patient via SMS or email.
Viewing on a Practice Device
When you choose View on Practice Device, the system will generate a QR code.
The patient can scan the code on their own device,
orThe practice can use a tablet to open and display the plan for the patient to review and sign.
Sending a Treatment Plan
When sending a treatment plan, you’ll be prompted to:
Choose a message type (SMS or Email).
Select a message template to accompany the plan.
Tip: Customising your message template with a friendly greeting can help increase patient engagement.
Frequently Asked Questions (FAQs)
1. What is the Treatment Plans report used for?
The report allows practices to view, filter, and manage all treatment plans created within a specific date range, including their type and current status (e.g. NHS, Private, Denplan).
2. What do the plan stages mean?
Sent to Patient – The plan has been sent but not yet opened.
Opened by Patient – The patient has viewed the plan but not yet approved it.
Approved by Patient – The patient has accepted the plan.
Cancelled – The plan has been withdrawn or voided.
3. Can I resend a treatment plan to a patient?
Yes. Click the Action button next to the relevant plan and select Resend (if available).
4. What does “Plan Type” mean?
This indicates the treatment category – NHS, Private, or Denplan – based on how the plan was created in Sensei Cloud.
5. Can I filter treatment plans by clinician?
Yes. Use the Clinician drop-down filter to view treatment plans created by a specific dentist or provider.
6. Why can’t I see any results?
Check your date range and filters.
If no results appear:
Extend your date range.
Clear any restrictive filters and try again.
Comments
0 comments
Article is closed for comments.